

Step-by-Step Drywall Installation for Your Renovation
Installing drywall is a crucial step in most home renovation projects, providing a smooth, durable surface for your walls and ceilings. While it may seem like a complex task, with the right tools and some careful planning, it’s a process many homeowners can tackle themselves. This step-by-step guide will walk you through the basics of drywall installation, ensuring a professional-looking result.
Step 1: Gather Your Materials and Tools
Before you begin, make sure you have all the necessary materials and tools on hand. You will need:
- Drywall sheets (typically 4′ x 8′ or larger)
- Drywall screws or nails
- Utility knife
- T-square
- Drywall lift (optional but helpful for ceilings)
- Joint compound (mud)
- Drywall tape
- Sanding block or pole sander
- Screw gun or drill
- Measuring tape
- Stud finder
Step 2: Measure and Cut the Drywall
Start by measuring the area where the drywall will be installed. Measure twice to ensure accuracy, and then mark your drywall sheets accordingly. Using a T-square and utility knife, score the drywall along your marked lines. Once scored, snap the drywall along the score line to break it cleanly, and use the knife to cut through the paper backing.
Step 3: Position the Drywall
Begin at the top of the wall and work your way down. Position the drywall sheet against the studs, making sure it fits snugly. For ceilings, consider using a drywall lift to hold the sheet in place while you secure it. If you’re working on a wall, leave a small gap (about 1/4 inch) at the bottom to prevent the drywall from absorbing moisture from the floor.
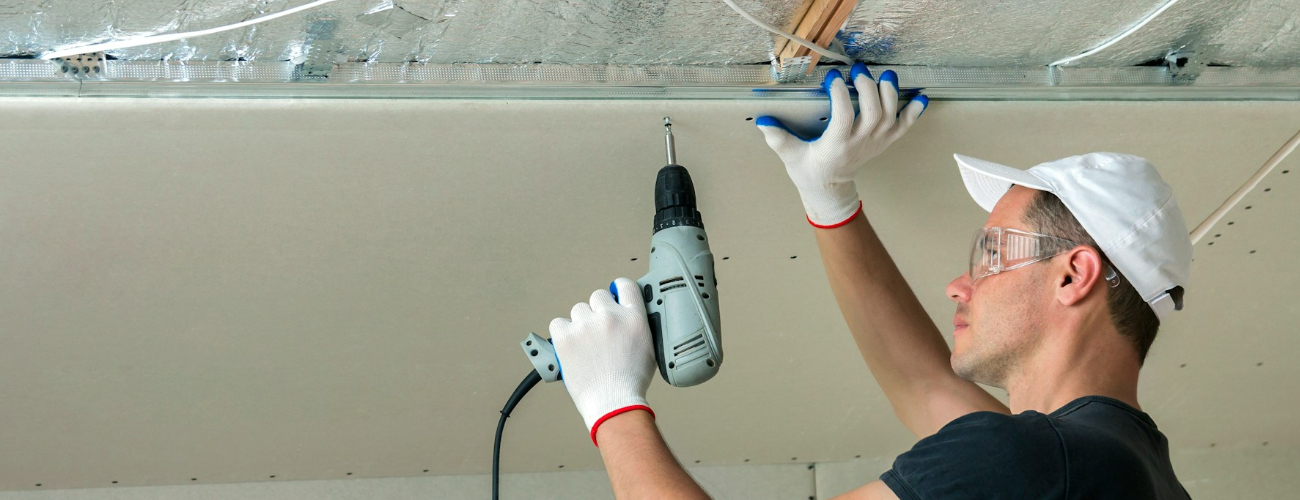
Step 4: Secure the Drywall to the Studs
Using a screw gun or drill, drive drywall screws into the studs, placing them every 12 to 16 inches along the edges and every 16 inches in the center of the sheet. Be sure to sink the screws just below the surface of the drywall without breaking through the paper layer. This ensures a smooth finish once the joint compound is applied.
Step 5: Apply Drywall Tape and Joint Compound
Once all the drywall sheets are secured, it’s time to cover the seams and screw holes. Apply a thin layer of joint compound over each seam using a drywall knife. Place drywall tape over the wet compound, pressing it firmly into place. Then, apply a second thin layer of joint compound over the tape, smoothing it out as much as possible. Repeat this process for all seams and screw holes.
Step 6: Sand the Seams
Once the joint compound has dried (typically 24 hours), use a sanding block or pole sander to smooth the seams. Sand lightly to avoid removing too much compound, focusing on creating an even surface. Dust off the walls with a dry cloth to remove any sanding debris.
Step 7: Apply a Second and Third Coat of Joint Compound
For a perfectly smooth finish, apply two more thin coats of joint compound over the seams, allowing each layer to dry completely before sanding. Each coat should be wider and thinner than the previous one, feathering out the edges for a seamless appearance.
Step 8: Final Sanding and Inspection
After the final coat has dried, sand the surface again to achieve a smooth, even finish. Inspect the walls for any imperfections, such as bumps or rough areas, and touch them up as needed. Once you’re satisfied with the finish, clean the area thoroughly to prepare for painting or other wall treatments.
Step 9: Prime and Paint
Before painting, it’s essential to apply a primer to the drywall. Primer helps the paint adhere better and ensures a more uniform finish. Once the primer has dried, you can proceed with painting your walls or applying your chosen wall finish.
Conclusion
Installing drywall may seem like a daunting task, but by following this step-by-step guide, you can achieve professional results in your home renovation project. With careful measuring, cutting, and taping, along with attention to detail in the finishing stages, your newly installed drywall will provide a clean and polished look that will last for years to come.