

How to Frame a Doorway in an Open Plan
Open-plan living has become a staple in modern home design, offering a sense of spaciousness, better light flow, and improved interaction among household members. However, with fewer walls comes the challenge of defining different areas within the open layout. One effective and elegant way to bring back some structure is by framing a doorway—even if it doesn’t include an actual door.
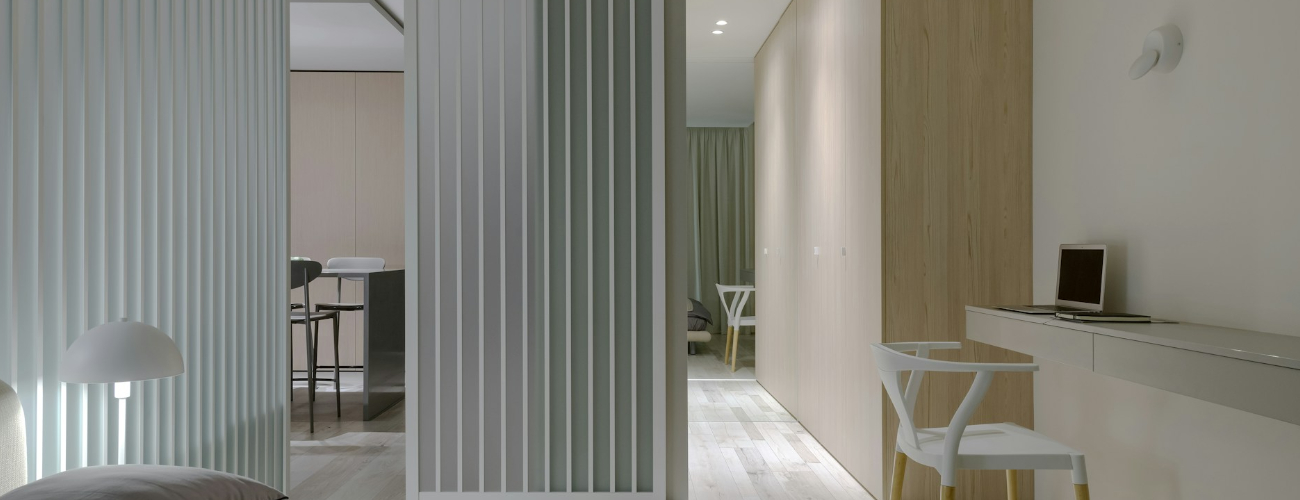
Framing a doorway in an open plan can help create subtle boundaries between spaces like the kitchen, dining area, and living room while preserving the open feel. Whether you’re aiming for a visual divide or looking to add architectural character, here’s how to approach it successfully.
Decide on the Purpose and Location
Start by identifying the reason you want to frame a doorway. Is it for creating a visual transition between rooms, enhancing privacy, or adding a design element? Common areas for framed openings include:
- Between the kitchen and dining room
- Entry to a hallway or mudroom
- Passage from the living area to a study or office space
Once you’ve determined the location, measure the width and height of the opening to plan the framing accurately.
Choose a Style That Complements Your Home
Framed doorways don’t have to be traditional. Depending on your interior style, consider the following options:
- Classic casing with trim and molding for a timeless look
- Arched openings for a softer, more elegant feel
- Squared-off minimalist frames for modern or industrial interiors
- Wood beams or headers for a rustic or farmhouse aesthetic
The frame itself becomes part of the overall design, so choose materials and shapes that complement your space.
Gather the Right Materials and Tools
To frame a doorway, you’ll need some basic construction materials and tools:
- 2×4 lumber for framing
- Header board (sized based on opening width and load-bearing requirements)
- Nails or screws
- Measuring tape and level
- Circular saw or handsaw
- Drywall and joint compound (if adding wall sections)
- Trim or molding (optional for finishing)
If you’re unsure whether the wall is load-bearing, consult a contractor or structural engineer before removing or modifying any part of the wall.
Construct the Frame
Here’s a simplified process:
- Build the rough opening: Create a rectangular frame using 2×4 studs and a header board. The header supports any weight above the opening, especially in load-bearing walls.
- Install king and jack studs: These vertical studs provide side support and help transfer the load to the floor.
- Secure everything in place: Make sure the structure is level and square before securing it with screws or nails.
- Add drywall and finish: If needed, apply drywall around the framing and finish with joint compound, sanding, and paint.
Add Decorative Elements
To elevate the look of the framed doorway, consider:
- Trim and casing: Painted or stained to match other elements in your home
- Accent colors: A contrasting color on the frame can add depth and visual interest
- Built-in lighting: For a modern twist, add overhead recessed lighting or sconces around the opening
- Sliding barn doors or pocket doors: If you want the option to close the space without a traditional swinging door
Maintain the Open Feel
Remember, the goal is to create a soft divide—not to close off the room entirely. Keep the framing simple and avoid bulky features that might disrupt sightlines or natural light. You’re adding definition, not barriers.
Final Thoughts
Framing a doorway in an open-plan home is a smart way to bring structure and charm to a space without sacrificing the openness that makes the layout so appealing. It’s a project that can be both functional and decorative, offering an opportunity to enhance your interior design with thoughtful architectural detail. Whether you DIY or hire a professional, this simple change can make a big difference in the way your space flows and feels.