

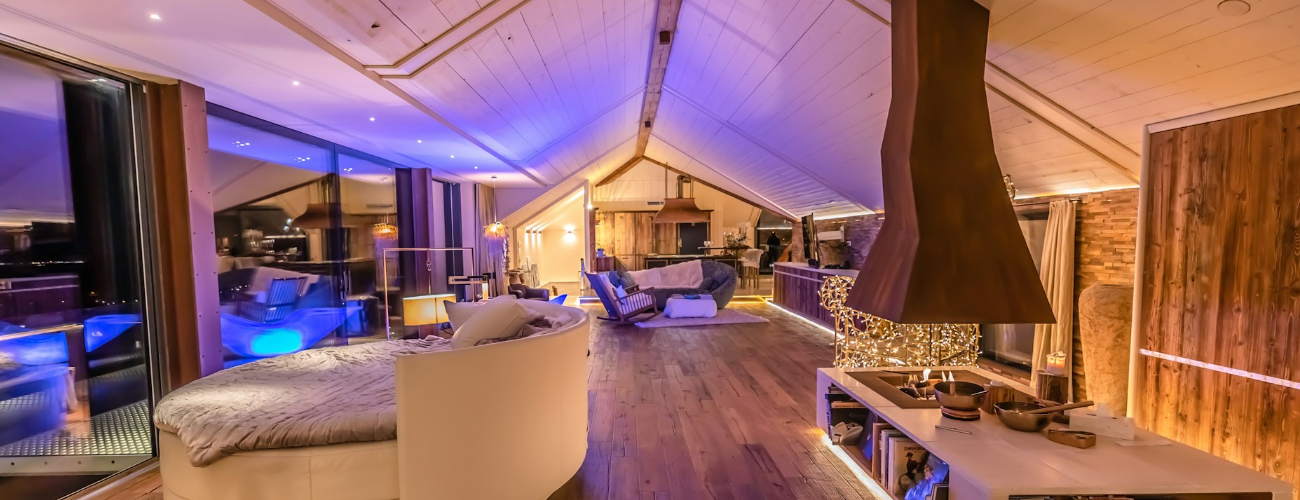
Renovating an Attic into a Guest Room
Transforming your attic into a cozy, functional guest room is one of the smartest ways to add living space to your home without building an addition. Often underutilized, attics offer great potential for a private retreat—perfect for visiting friends, extended family, or even a long-term renter. With the right planning, materials, and design approach, you can turn a dusty storage space into a welcoming, stylish guest suite.
In this guide, we’ll walk through everything you need to know to renovate your attic into a comfortable guest room—from assessing the structure to choosing the right finishes.
Step 1: Assess Your Attic’s Potential
Before you start decorating or sketching layouts, you need to evaluate whether your attic is suitable for conversion. Key considerations include:
Ceiling Height
Most local building codes require at least 7 feet of ceiling height over 50% of the room’s floor area for it to be considered habitable. Attics with sloped ceilings may meet this requirement only in the center, so it’s important to measure carefully.
Access
Does your attic have a safe, code-compliant staircase? Pull-down ladders won’t meet the standard for livable space. You may need to build a permanent staircase, which requires space and budget.
Insulation and Ventilation
Attics can become extremely hot or cold. Ensure there’s proper insulation, as well as adequate ventilation and airflow. This step is crucial for energy efficiency and comfort.
Structural Integrity
Check if the floor joists are strong enough to support regular foot traffic, furniture, and guests. Reinforcements might be needed.
Electrical and Plumbing
You’ll likely need to add electrical outlets, lighting, and possibly HVAC extensions. If you want to include a bathroom, you’ll also need plumbing connections, which can significantly impact your renovation cost.
Step 2: Planning and Permits
Once your attic passes the basic requirements, it’s time to develop a renovation plan.
- Design the layout to maximize the usable floor area while working around sloped ceilings.
- Include storage options like built-in drawers, under-eave closets, or shelves.
- Decide if you’ll install a half or full bathroom, depending on space and budget.
- Hire a contractor or architect to draw plans and ensure everything complies with local building codes.
- Apply for the necessary permits before starting construction. Most attic conversions require approval for structural, electrical, and HVAC work.
Step 3: Construction Phase
After permits and planning, the renovation work begins. Here’s a general breakdown of what this phase may include:
Framing and Flooring
Reinforce the subfloor, install wall framing where needed, and create any additional rooms like a bathroom or closet.
Insulation
Proper insulation is key. Use spray foam or batt insulation in the roof rafters and walls. Ensure all gaps are sealed to maintain temperature control.
Windows and Lighting
Install dormer windows or skylights to bring in natural light and create a more open feel. Don’t forget to add overhead lighting and reading lamps for nighttime comfort.
Drywall and Paint
Finish the walls and ceilings with drywall. Consider painting the attic in light, neutral colors to make the space feel larger and airier.
Heating and Cooling
Extend your home’s HVAC system or add a ductless mini-split unit for efficient temperature control.
Step 4: Interior Design and Furnishing
Now it’s time to bring your guest room to life with thoughtful design choices.
- Choose a comfortable bed and compact furniture that fits well under sloped ceilings.
- Use multifunctional pieces, such as a daybed with storage drawers or a foldable desk.
- Add area rugs to soften the floor and make the space cozier.
- Incorporate soft lighting, curtains, and decorative accents to create a welcoming, homey atmosphere.
- Provide essentials like fresh linens, extra pillows, towels, and a small dresser or luggage stand for guests.
Step 5: Final Touches for Guest Comfort
To truly make your attic guest room feel like a retreat, consider adding:
- A TV or Wi-Fi access
- A small coffee station or mini-fridge
- Blackout curtains for restful sleep
- A mirror, reading materials, or personal touches like fresh flowers
These small upgrades go a long way in making guests feel comfortable and cared for.
Conclusion
Renovating an attic into a guest room is a creative and rewarding project that increases your home’s usable space and value. While it does require careful planning and investment, the result is a private, peaceful retreat that can serve your family and guests for years to come. Whether you’re accommodating holiday visitors or adding value to your property, an attic guest room is a smart, stylish solution.