

How to Safely Replace Electrical Wiring in an Older Home
Updating the electrical wiring in an older home is not just a matter of convenience and efficiency; it’s also a critical step in ensuring the safety of the residence. Older homes often have outdated wiring systems that might not meet current electrical codes or support modern appliances and technology. Here’s a comprehensive guide on how to safely replace electrical wiring in an older home.
Understand the Challenges of Old Wiring
Older homes may have wiring that is not only outdated but also potentially hazardous. Common issues include:
- Knob and Tube Wiring: Used in homes until the 1940s, this system lacks a ground wire and is considered risky by today’s standards.
- Aluminum Wiring: Common in the 1960s and 1970s, aluminum wiring can loosen over time, creating fire risks.
- Unprotected Wiring: Wiring without adequate insulation or protection is susceptible to damage and wear.
Step-by-Step Guide to Replacing Old Wiring
Assessment and Planning
- Hire a Professional: Start with a thorough inspection by a licensed electrician. They can assess the safety of your existing system and provide a detailed plan for replacement.
- Check Local Codes: Ensure all plans comply with local building codes and regulations, which can vary significantly by location.
Obtain Necessary Permits
- Many localities require permits for electrical work. This step is crucial as it ensures your work is inspected and meets all safety standards.
Preparing the Home
- Before starting the work, prepare your home. This might involve moving furniture, lifting carpets, and possibly even temporarily relocating as the work can involve significant disruption.
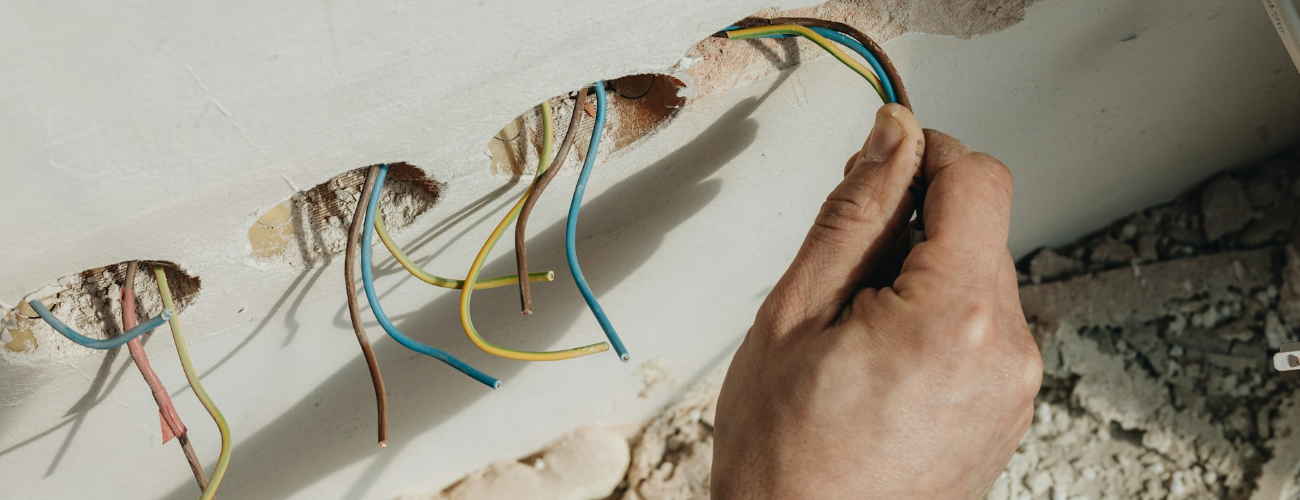
Removing Old Wiring
- The removal of old wiring should be done systematically and safely. All power to the home should be shut off at the main breaker during this process to avoid any accidents.
Installing New Wiring
- Run New Conduits: Install new conduits if necessary, which can help protect wiring from environmental factors and physical damage.
- Wire Installation: Use copper wiring, which is the standard due to its durability and efficiency. Your electrician will run new wires, including live, neutral, and ground wires, according to the current electrical standards.
- Install Ground Fault Circuit Interrupters (GFCIs): Particularly in areas exposed to moisture like kitchens and bathrooms, GFCIs can prevent electrical shock.
Reconnection and Testing
- Once new wiring is in place, reconnect fixtures and outlets. Testing each circuit as it’s completed ensures that everything is working correctly and safely.
Final Inspection and Closing Up
- After the wiring is replaced and initial tests are successful, a final inspection by a building inspector or licensed electrician should be conducted to confirm that the installation meets all local codes and safety standards.
- Once approved, walls and floors can be closed up, and any disrupted areas of the home restored.
Safety Tips
- Never Work Alone: Always have someone nearby when working on electrical systems, especially in emergencies.
- Use Proper Tools and Equipment: Ensure you have the correct tools and protective equipment, such as insulated gloves and goggles.
- Label Everything: Clearly label new wiring and electrical panels to facilitate future maintenance and repairs.
Conclusion
Replacing electrical wiring in an older home is a complex process that requires careful planning, adherence to safety protocols, and compliance with local electrical codes. While the involvement of a professional electrician is crucial, understanding the process can help you make informed decisions about the electrical safety and functionality of your home. By taking the right steps, you can enhance the safety, efficiency, and value of your older home.